
Short Answer
Yes, you can almost always replace a worn bottom seal or side weatherstripping yourself. It's a 30-90 minute job with basic tools, and a new seal typically costs far less than a service call. The only time this becomes a technician job is when the track, panel, or seal retainer is bent or damaged, or when the door is already off-track.
With the humid summer behind us and cold, icy winters ahead, now is the right time to check these seals. A gap you barely notice in October lets in meltwater, road salt spray, and cold air once the first ice storm rolls through.
Signs Your Seals Need Replacing
- Daylight visible along the bottom or sides of a closed door
- A cold draft at floor level near the garage door
- Water stains or puddling just inside the door after rain or snowmelt
- Dead leaves, dust, or dirt collecting in a line along the floor
- Signs of mice or insects getting in — droppings, chewed cardboard, nests
- The rubber seal is cracked, flattened, or pulling away from the track
Tools You'll Need
- Tape measure
- Utility knife
- Flathead screwdriver or small pry bar
- Replacement bottom seal (T-style, bead-style, or bulb-style — match what's already on the door)
- Replacement side/top weatherstripping if needed
- Mild soap and water or silicone-based lubricant (helps the seal slide into the track)
- Stepladder if you're also doing top and side seals
Step-by-Step: Replacing a Bottom Seal
- Identify your seal type. Look at the edge of the door and the metal retainer track. Bottom seals are usually T-shaped, bulb-shaped, or a beaded style that slides into a specific channel — they're not interchangeable, so match the style before buying.
- Measure the width of your door. Standard residential doors are typically 8, 9, or 16 feet wide. Buy a seal a few inches longer than needed; you'll trim it.
- Open the door partway so you have room to work and good light on the bottom panel.
- Pull or pry out the old seal. Most slide out of the aluminum retainer by hand. If it's stiff or brittle from age, use the flathead screwdriver to loosen the track edge first.
- Clean the channel. Wipe out old dirt, dried-out rubber bits, and grit so the new seal seats fully.
- Feed the new seal into the track starting at one end. A little soapy water or silicone lubricant on the bead makes this much easier and protects your hands.
- Trim the excess with a utility knife once it's fully seated, leaving it flush with both ends of the door.
- Close the door and check the fit. Look for even contact along the entire bottom edge, with no visible light or gaps.
- Repeat the same process for side and top weatherstripping if those sections are cracked or pulling loose.
What's DIY and What's Not
Replacing bottom seals and standard weatherstripping is a reasonable homeowner project. What's not a DIY job:
- A bent or damaged retainer track that won't hold a new seal properly
- A door that's visibly crooked, off-track, or binding when it moves
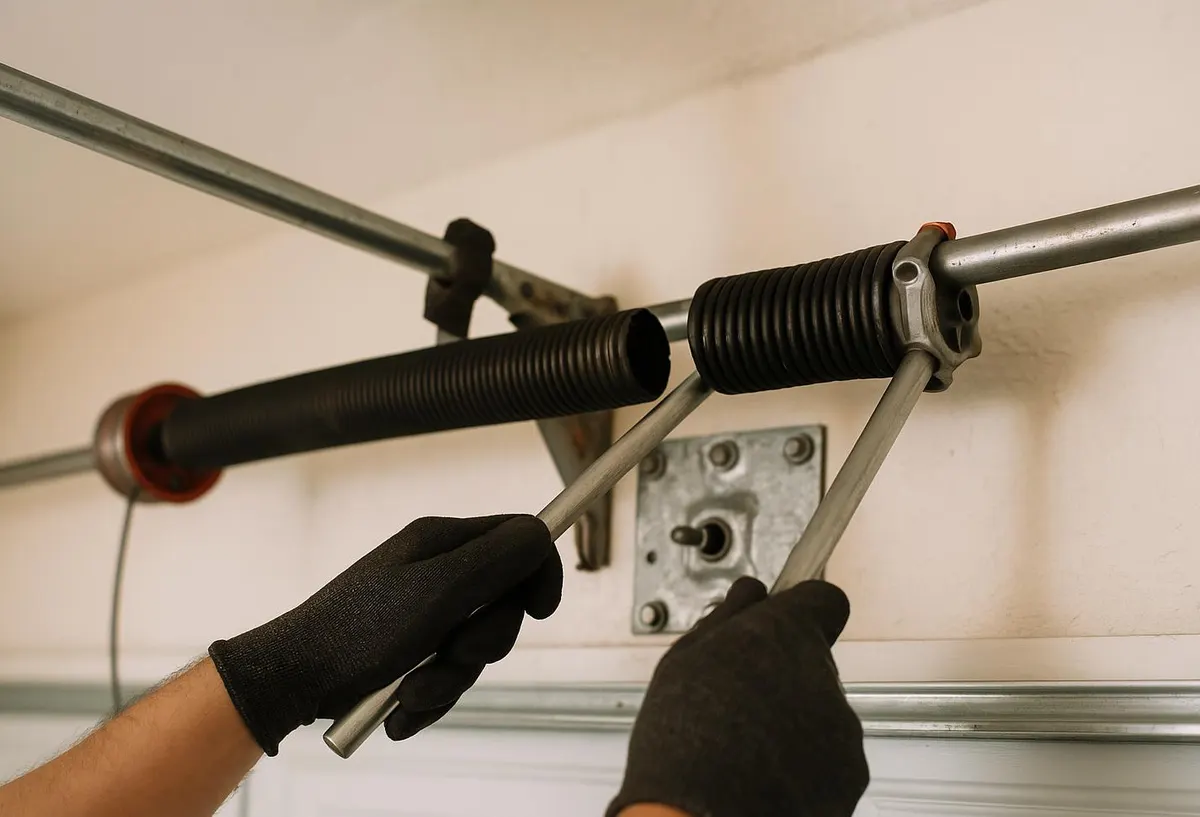
- Any work near torsion springs or cables — these are under heavy tension and can cause serious injury
- Panel damage from the door scraping or catching on an uneven floor
If any of those apply, the seal issue is usually a symptom of a bigger alignment problem, not just worn rubber.
When to Call Blue Springs Garage Door
If you've replaced the seal and still see gaps, if the track looks bent, or if the door doesn't sit flush no matter what you try, that points to an alignment issue rather than a seal problem. Our Garage Door Maintenance service checks track alignment, rollers, and hardware so the new seal actually does its job. If the track itself is damaged, our Cable & Track Repair service gets the door moving true again before winter ice and salt spray make small gaps a bigger headache.
Ready to seal things up before the cold hits? Call Blue Springs Garage Door — proudly serving Blue Springs, Independence, Lee's Summit, Grain Valley, Oak Grove, Buckner, Lake Lotawana, and Raytown.